
DIY Vertical Garden Systems are a fantastic way to bring a slice of nature into your living space, especially if you’re short on ground space. Whether you live in an urban apartment or have a small backyard, these systems let you get creative and green up your walls.
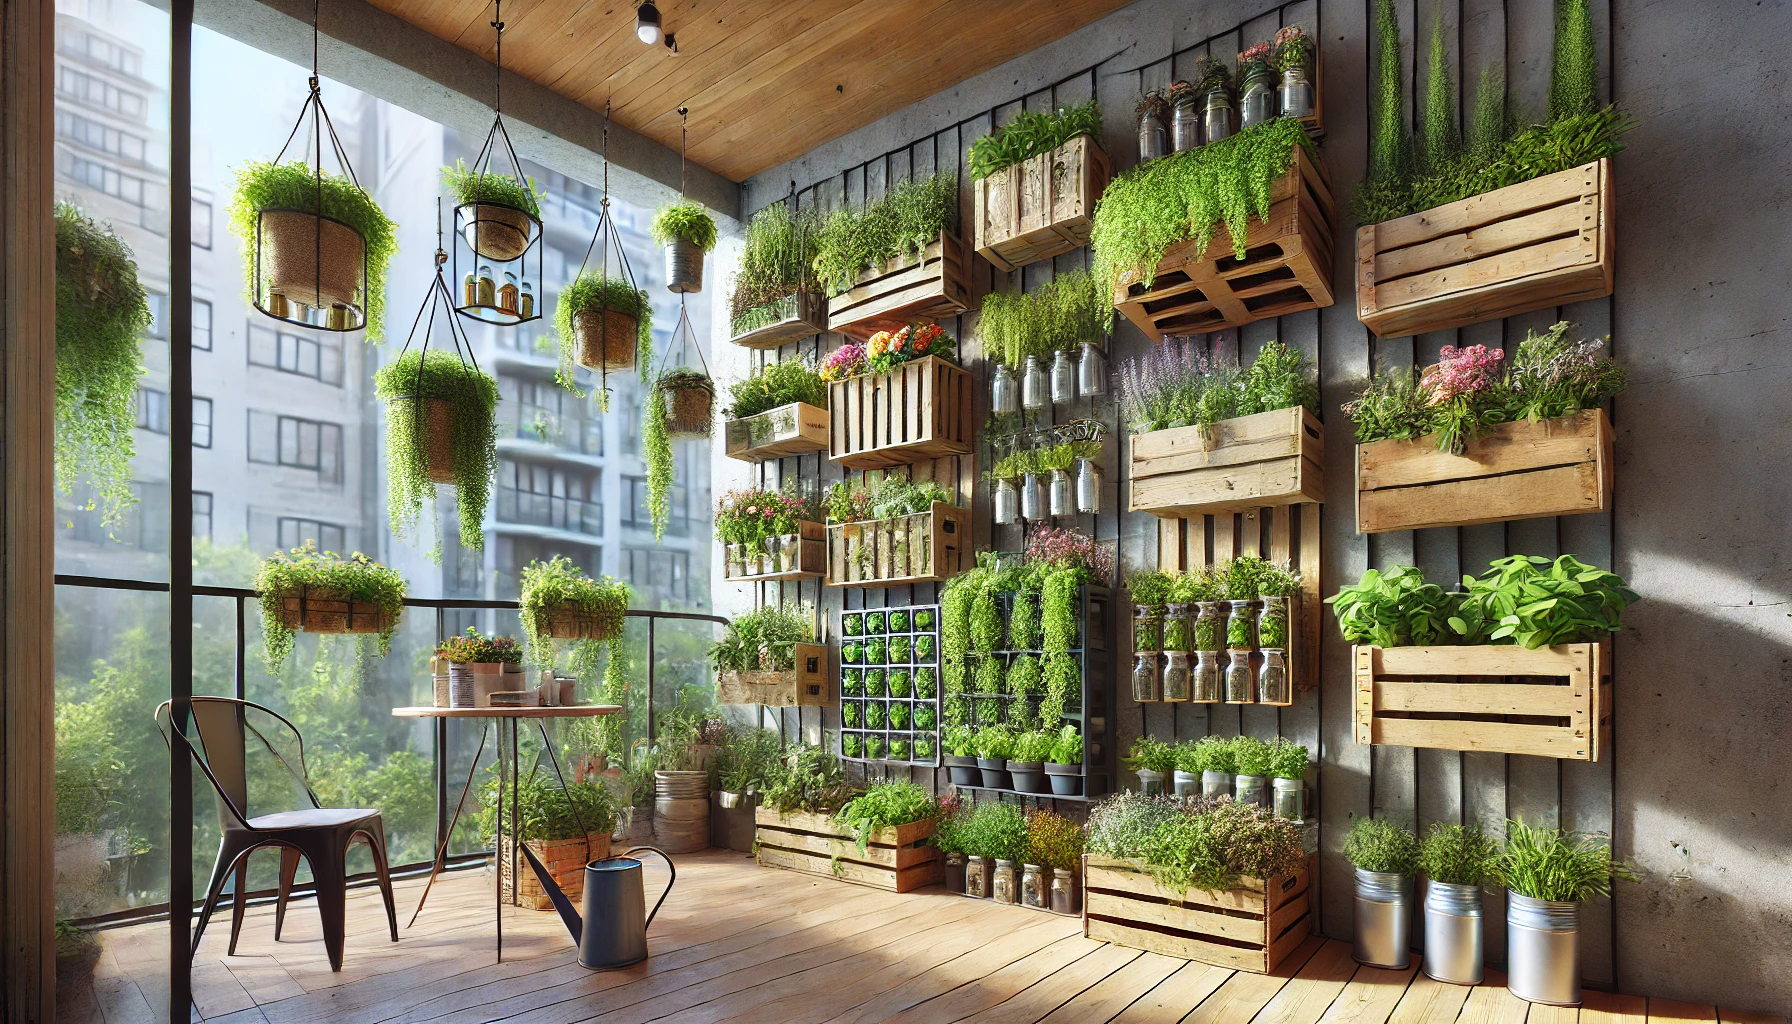
The charm of vertical gardens lies in their ability to transform dull, lifeless walls into vibrant, lush backdrops. Not only do they look incredible, but they also provide a host of benefits. Improved air quality, better insulation, and even a possible bump to your property value. Plus, having plants at eye level makes it super easy to tend to them.
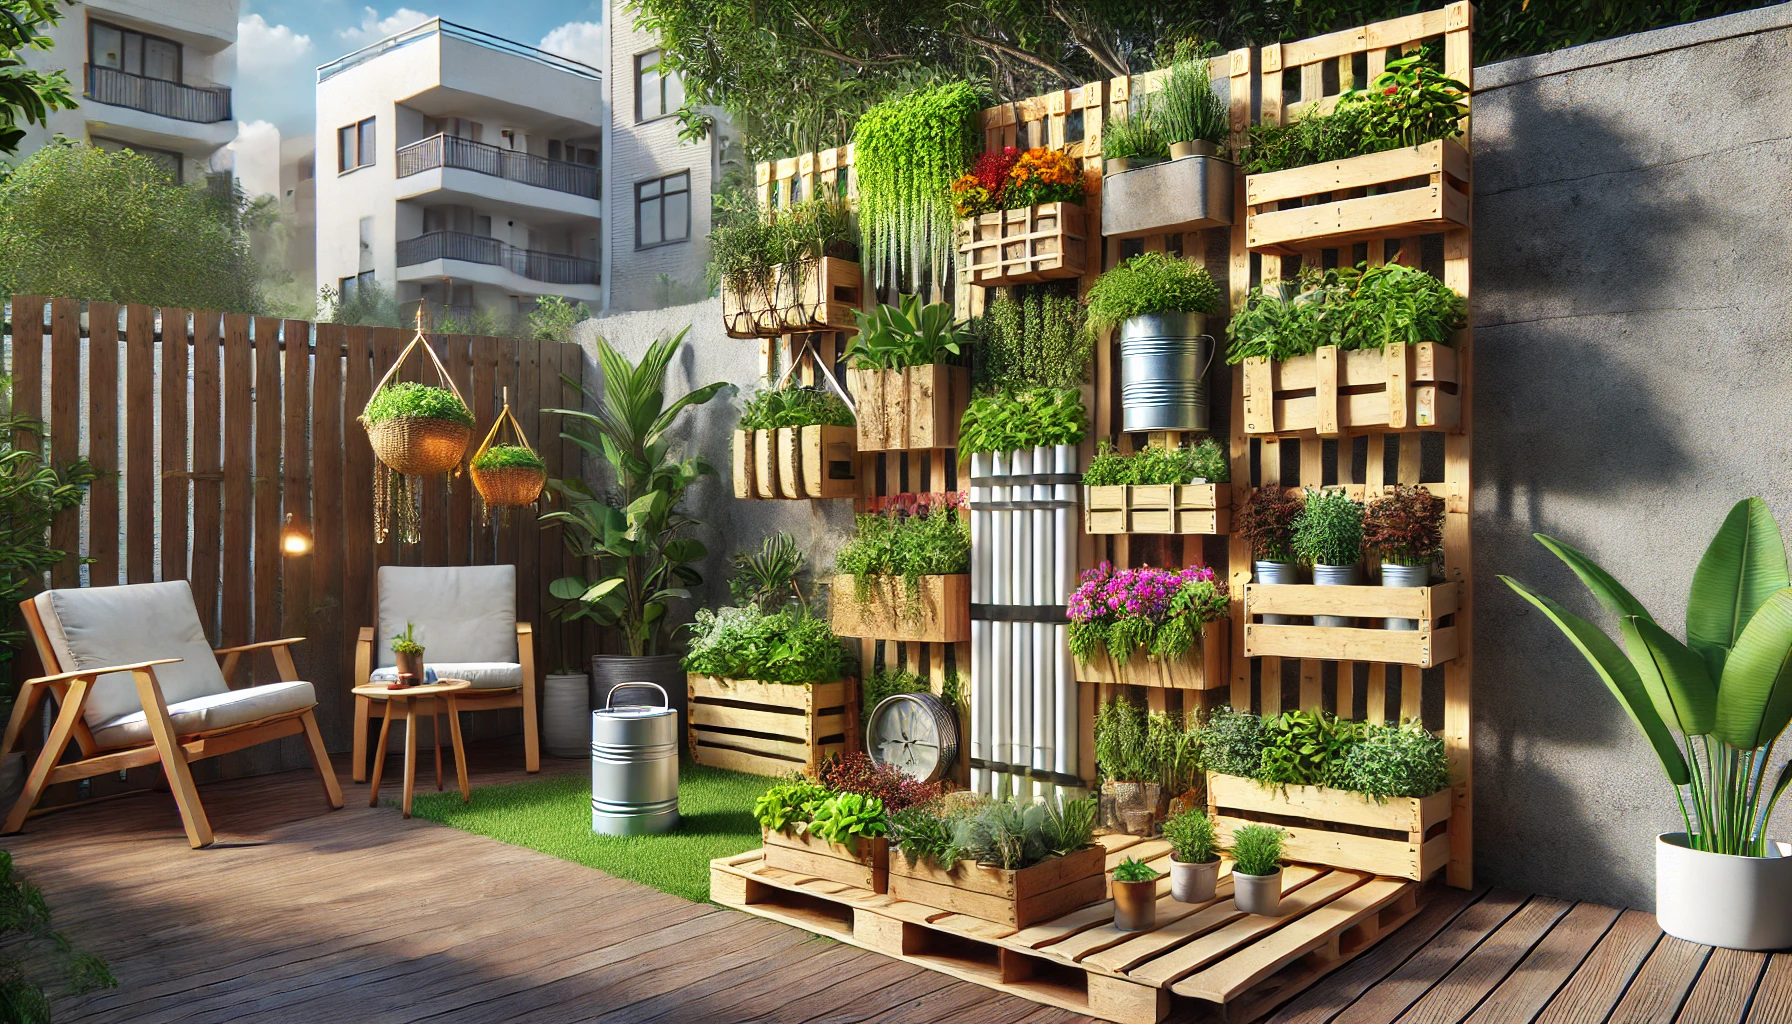
But what exactly makes a great DIY vertical garden? Well, it can vary based on personal taste and space requirements. From using repurposed wooden pallets to modern, sleek modular structures, the options are endless. It all comes down to combining functionality with a personal touch.
Getting into DIY means you get the chance to tailor everything to your liking. Want a herb garden right outside your kitchen window? Or maybe a splash of colorful flowers on your balcony? You can make it happen without breaking a sweat.
In this article, I’ll be walking you through what you need to know about setting up your own vertical garden. With some careful planning and a little bit of elbow grease, you’ll have your green haven thriving in no time.
Key Components and Basic Plans for a DIY Vertical Garden
Thinking about setting up your own piece of green paradise on a wall? Knowing the fundamental components and having a solid plan is half the battle won. Let’s break it down so it’s easier to tackle.
Firstly, understanding the essential elements is important. You need a solid structure—something that’ll hold everything together without crumbling. Wooden pallets are popular because they’re sturdy and versatile. Metal or plastic options work well too, especially for a modern look.
Keep your plants happy with the right choice of soil and containers. Remember, different plants have different needs. Go for potting mix for those herbs you’re dreaming of, or a cactus mix if succulents are your thing.
Lighting plays a key role too. Position your garden where it gets adequate sunlight but isn’t scorched by the hot afternoon sun. Most plants thrive with around 6 hours of sunlight. Artificial grow lights are handy if natural light is a bit of a challenge.
When it comes to DIY vertical garden systems plans, think about the arrangement. How will it look? How easy will it be to water and maintain? Sketch a draft or use planning apps if you’re tech-savvy. It’ll save you headaches down the road.
Lastly, consider modular systems if you’re keen on flexibility. They allow you to add or rearrange plant sections as your collection grows—ideal if you like changing things up or have a varied plant choice in mind.
Now that you’ve got the basics down, it’s all about mixing those elements into a vertical art piece that feels just right for you. With your creativity and vision, it’s all within reach.
Step-by-Step Guide: How to Create a DIY Vertical Garden
Getting your vertical garden from concept to reality involves a few key steps that are totally doable with a bit of planning. It all starts with picking the perfect spot. Look for a place that gets enough light and has some room for your plants to spread out a bit.
After choosing the spot, it’s time to think about your garden’s design. Consider how much space you have and what plants you want. Sketch a rough layout and decide on how you’ll arrange your plants—whether in rows, a spiral, or a more random pattern.
With your design set, gather materials like containers that suit your plant selection. Recycled materials can add a unique touch and are environmentally friendly. Grab your tools, soil, and any other supplies like hooks or zip ties if needed for mounting your setup.
Start assembling your framework, making sure it’s sturdy. Secure the structure with hooks or attach it to a support wall. Check the weight limits, especially if you’re using heavy pots or soil.
Next up is planting. Place each plant where it’ll get the right light and won’t be overshadowed by others. Don’t crowd them—these little guys need air circulation to stay healthy.
Once your garden is set up, water each plant gently and check that the structure holds under the weight of wet soil. Keep an eye out for any drips and adjust as necessary to ensure even watering across all levels.
As your garden grows, routine maintenance like checking for pests, pruning, and regular watering will keep everything thriving. It’s a work of love that rewards you with a beautiful wall of greenery. The feeling of watching your plants flourish makes every effort worth it.
Pros and Cons: Understanding the Drawbacks of Vertical Gardens
Vertical gardens are amazing, but like everything else, they come with their own set of challenges. Knowing these can help you better prepare and enjoy your gardening journey.
One of the main issues newbies face is plant selection. Not every plant is suited for vertical life. Some might not get enough sunlight or can be too heavy for your structure. It’s essential to choose plants that are adaptable to these conditions.
Maintenance can also be a bit more involved. Regular checks for pests, ensuring every plant gets enough water, and occasional trimming are all part of the process. Vertical gardens need a little more love since gravity isn’t always your friend here.
Cost might also be a consideration. While they do save space, initially, they can be pricier than traditional gardens because of the need for specific structures and possibly more frequent replacements of plants and soil.
Watering correctly can pose a challenge too. With several levels, ensuring uniform moisture can be tricky. Drip irrigation systems often come in handy, but they require setup too, which adds to your to-do list.
Don’t let these drawbacks discourage you, though. With the right preparation, most of these are easily managed. A bit of extra planning up front can lead to lush, thriving walls of green that are totally worth the effort.
Efficient Watering Solutions: Best Irrigation Systems for Vertical Gardens
Watering is vital for any garden, but for vertical setups, it’s crucial to have a system that ensures every plant gets the right amount. Choosing the best irrigation system for a vertical garden could mean the difference between a flourishing wall and a dried-out disaster.
Drip irrigation systems are often a top choice. They deliver water directly to the base of each plant, reducing waste and ensuring even distribution. Setting these up isn’t too complicated, but it does require some time and patience. The payoff is consistent watering with minimal effort on your part.
Another decent option is a soaker hose system. These hoses can wind through your vertical garden, letting water seep slowly into the soil. It’s a straightforward solution that works well if your structure has horizontal rows. Just make sure you adjust the water pressure to avoid any overwatering issues.
For those who prefer a low-tech approach, a watering can might suffice if you’ve got a smaller garden or enjoy hands-on care. It offers flexibility and allows you to get involved directly, though it can be more time-consuming than automated systems.
Whichever system you choose, the key is regular checks. Ensure nozzles aren’t blocked and that each plant is getting its fair share of moisture. Keeping everything in working order will save you a lot of hassle and keep your garden looking its best.
To wrap it up, a proper watering setup doesn’t just keep your plants alive—it contributes to a healthier garden all around. Find a system that fits your needs, and you’ll see your vertical garden thrive.
Budgeting and Costs: How Much Does It Really Cost to Build a Vertical Garden?
Setting up a vertical garden is exciting, but let’s talk numbers. How much should you realistically set aside for this green endeavor? Costs can range based on size, materials, and personal touches, but here’s a rough idea for your budgeting needs.
Materials form the bulk of your expenses. Pre-built vertical garden kits can cost anywhere from $50 for basic setups to several hundred bucks for top-of-the-line systems. Going the DIY route with repurposed materials can drastically cut costs, making it easier on your wallet.
Plants are another consideration. Depending on your choice, prices vary widely. Buying seedlings or small plants is often cheaper than more mature ones, plus it’s rewarding to watch them grow.
Don’t forget about irrigation systems and soil. Basic drip irrigation setups might run you $20 to $50, while a simple watering routine will cost less initially but could require more time investment.
Long-term costs are relatively low. Once everything’s in place, maintenance becomes more about time than money. Occasional plant replacements, soil top-ups, and general upkeep might only add minor expenses each year.
For a basic DIY vertical garden, expect to spend around $100 to $200. If you go for a more elaborate structure with premium plants and automated systems, it could head up to $500 or more.
By planning smart and perhaps hunting for discounts or using recycled materials, you can create an amazing vertical garden that fits your budget without compromising on style or functionality.
Conclusion and Final Thoughts on DIY Vertical Garden Systems
Creating a vertical garden is more than just a gardening project—it’s a way to bring life and vibrancy to spaces that might otherwise go unnoticed. From choosing the right materials and plants to setting up efficient irrigation, each step you take brings you closer to your own personal green wall.
The journey of building a vertical garden is filled with learning and creativity. Sure, there might be bumps along the road, like figuring out the best plants or dealing with maintenance, but it’s all part of crafting something beautifully unique that reflects your style and needs.
Remember, the key to success is in the planning and understanding the specifics of your setup. Whether you’re working with a tight budget or going all out, there’s something incredibly rewarding about watching your plants thrive and knowing you’ve created this oasis all on your own.
Keep exploring and tweaking as you go. Vertical gardens offer so much flexibility—changing things up is easy, which is perfect for keeping your space fresh and exciting. So let your imagination guide you and enjoy the process of creating a living work of art that you can appreciate every day.
I hope this inspires you to grab your gardening gloves and start planning your own lush, vertical masterpiece. It’s more than just a hobby—it’s about infusing life and color into your surroundings. Happy gardening!
Wow, I think having a verticle garden is awesome! I have a little garden, and I use a portable greenhouse to help my plants grow. I never even thought about trying a vertical garden system before, but now I’m really interested. They look so pretty and it seems like it would be worth the effort to set one up. Thanks for sharing this super helpful article!
“Thank you so much for your kind words! A portable greenhouse sounds amazing—what a great way to nurture your plants! I think you’d really enjoy experimenting with a vertical garden system. They’re not only space-saving and functional but also add such a unique touch to your gardening setup. If you ever decide to give it a try, feel free to reach out—I’d be happy to share tips or answer any questions. Wishing you lots of success with your garden!”